GPS v1.0 Beta FS19


GPS v1.0 Beta FS19
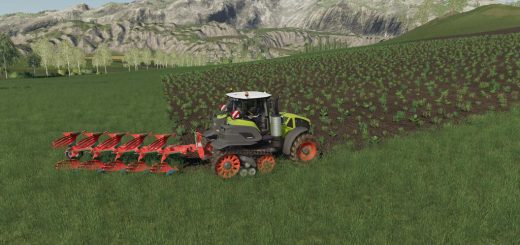
Mod GPS Script for Farming Simulator 2019. With it, you can specify the direction of its movement in a straight line. It allows you to automate work with equipment without hiring workers. This can be useful, for example, during field cultivation or harvesting with a combine directly into the trailer of a tractor passing by, etc. When using GPS, a tractor without a driver with a trailer will ride next to the combine. Conveniently? And how!
Please note that this is a BETA version of the development!
You are warned about a copy of the current development branch, keep in mind that the development version may be breaking the game!
Also, note that this version does not yet support the full package of functions!
Multiplayer
This version should also work in Multiplayer, but keep in mind it might have bugs.
How to install GPS mod
Windows: Copy the `FS19_guidanceSteering_rc_<version>.zip` into your `My Games\FarmingSimulator2019\mods` directory.
Developers version
To quickly build a zip of the developer version without the needed extra’s, use the `zip.bat` which is included in this repository.
> _Please note: the batch file requires an installed version of 7Zip or Winrar_
How to use GPS in Farmer Simulator 2019
GPS purchase
Before you can use GPS, you must buy a configuration in the store for each vehicle! To be able to use the GPS you first need to buy the technology for your vehicle. Either buy a new vehicle and add the GPS or drive your current vehicle to the shop and configure it there.
Toggle Guidance Steering
In order to turn guidance steering on and off hit `alt + c`
Open menu
To open the menu, press Ctrl + S.
Setting up the line
Go to the place where you want to customize your lines.
Press + once to reset AB creation.
AB line
The AB mode requires two points between which the GPS is aligned.
1. Drive to the location where you want to setup your lines.
2. Hit `alt + E` once (or use the menu) in order to reset the AB creation.
3. Hit `alt + E` once more (or use the menu) in order to set point A.
4. Hit `alt + E` once more (or use the menu) in order to set point B which will create the track.
Press again to set point A.
Press + again to set point B.
Press alt + e again to create the track.
Auto Width
Hit `alt + R` (or use the menu) in order to detect the width of your vehicle.
Unfold and lower the vehicle to get the best results.
Tip: open and lower the car for best results!
Increase / decrease width
Hit `alt + plus` and `alt + minus` in order to change the width manually. In the menu you can set the increment width in order to speed up the process.
Please note that this only works after the track creation!
Corner of the earth
If you cannot create straight lines yourself, you can enable angle capture in the menu. This will align the AB lines with the terrain.
Offset line
In the menu you can set the offset line. If the offset is not `0` a red line will show up. Use the increment width select box (the one at the top) to set the increment and click on the button `Increment offset` in order to offset your line. If you set the increment to negative it will flip the offset.
Shift track
Hit `alt + page up` and `alt + page down` in order to shift the track left and right. If you hold down the key the shifting of the track will speed up.
Realign track
Hit `alt + home` in order to realign the track with the vehicle.
Terrain angle snapping
If you’re not able to create straight lines yourself you can enable angle snapping in the menu. This will align the AB lines with the terrain.
Switch direction / Toggle guidance steering
Once a track is created hit `alt + X` to toggle the steering.
Headland control / Cape management
Currently, it stops automatically at the cape when cruise control is turned on. This feature and shooting at the end of the field are still ongoing.
Store and load tracks
It’s also possible to store the tracks and reload them. Open the second page in the menu in order to do it.
This version should work in multiplayer, but keep in mind that errors are possible.
Credits:Wopster


